Installing and Running YII2
For Windows/Linux Machines : Install Xampps on windows/linux machines. Configure to use PHP 7.4+ and Mysql 5.7+. Follow the following instructions to install on Apple machines.
Setup Dev Environment
Apache Installation
Install Apache: Follow the instructions from blog : https://getgrav.org/blog/macos-monterey-apache-multiple-php-versions
PHP Installation
brew install php@7.4
To enable PHP in Apache add the following to httpd.conf:
     LoadModule php7_module $(brew --prefix)/opt/php@7.4/lib/httpd/modules/libphp7.so
     <FilesMatch \.php$>
     SetHandler application/x-httpd-php
     </FilesMatch>
check httpd.conf DirectoryIndex includes index.php DirectoryIndex index.php index.html
Restart Apache brew services restart httpd
The php.ini and php-fpm.ini file can be found in: $(brew --prefix)/etc/php/7.4/ —
echo 'export PATH="/opt/homebrew/opt/php@7.4/bin:$PATH"' >> ~/.zshrc
echo 'export PATH="/opt/homebrew/opt/php@7.4/sbin:$PATH"' >> ~/.zshrc
brew link php@7.4
brew services restart httpd
brew services restart php@7.4
pecl install xdebug
brew services restart httpd
Mysql Installation
brew install mysql@5.7
brew link mysql@5.7
brew services start mysql@5.7
mysql_secure_installation
YII2 Setup
- Install Xampps on windows/linux machines. Install Ampps if you have an apple machine. In this guide we shall be defining steps for Xampps. You may follow the same steps for Ampps with only difference being in webroot directory nomenclature. For Xampps our webroot directory will be www while for ampps it will be htdocs
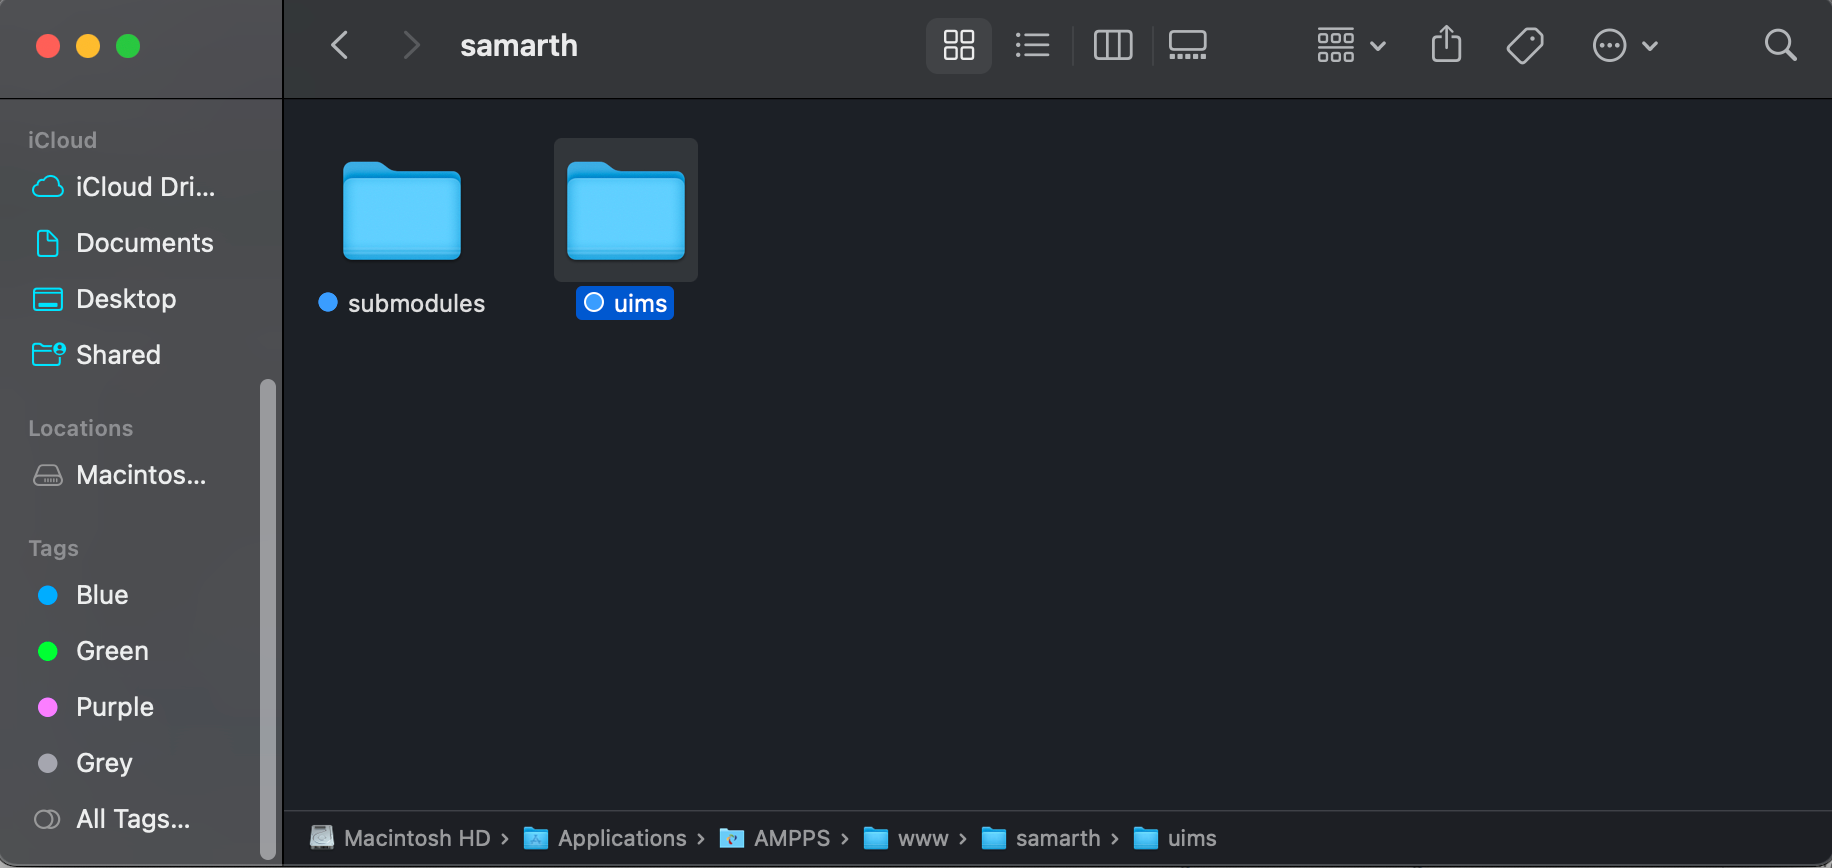
- Create the following directory structure [webroot] > samarth > uims and [webroot] > samarth > submodules

- Clone UIMS code repository in [webroot] > samarth > uims directory https://project.samarth.ac.in/samarth-egov-ess/uims_newtheme
- Create composer.json file under directory [webroot] > samarth > uims
- Create directory config under directory [webroot] > samarth > uims and unzip contents of in it config.zip
- Create a blank directory assets under [webroot] > samarth > uims > web
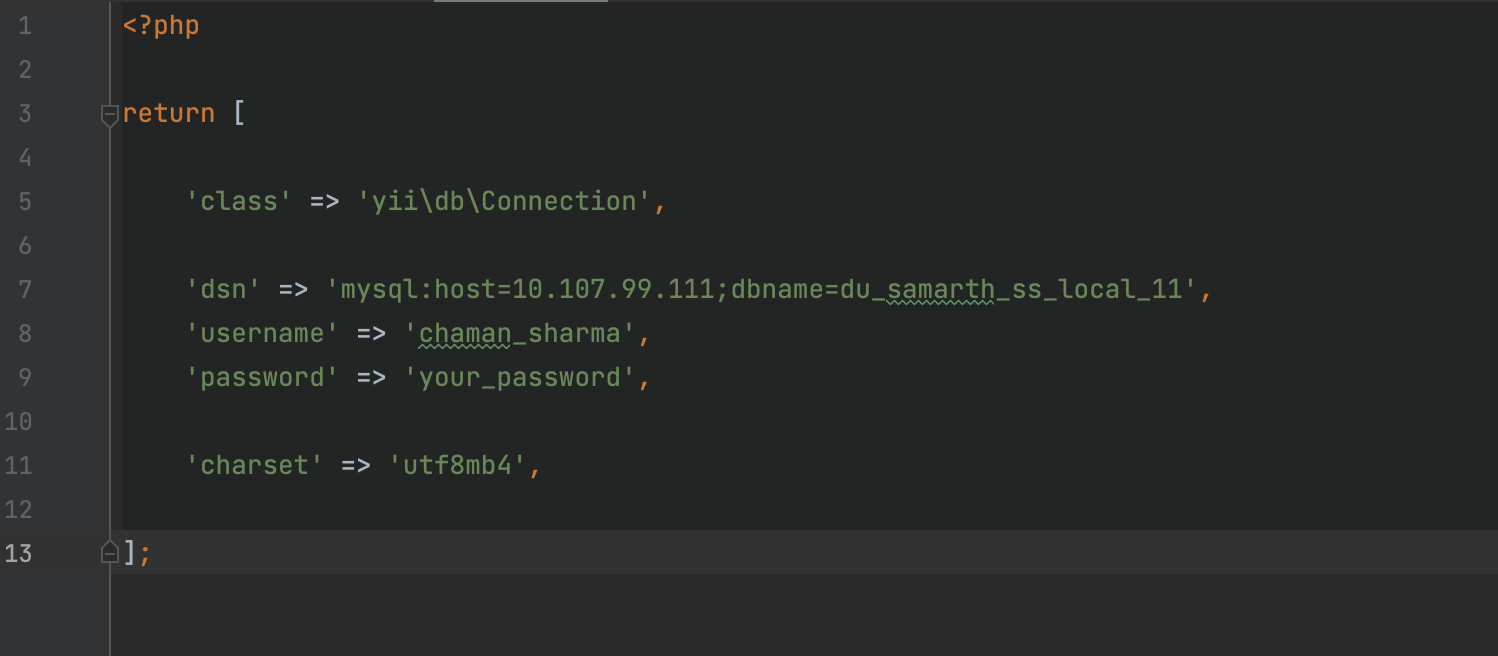
- Edit DB connection details in DB.php files in the [webroot] > samarth > config directory.

- Clone all submodules written in the composer file into [webroot] > samarth > submodules directory
- Once the above steps are done then finally run
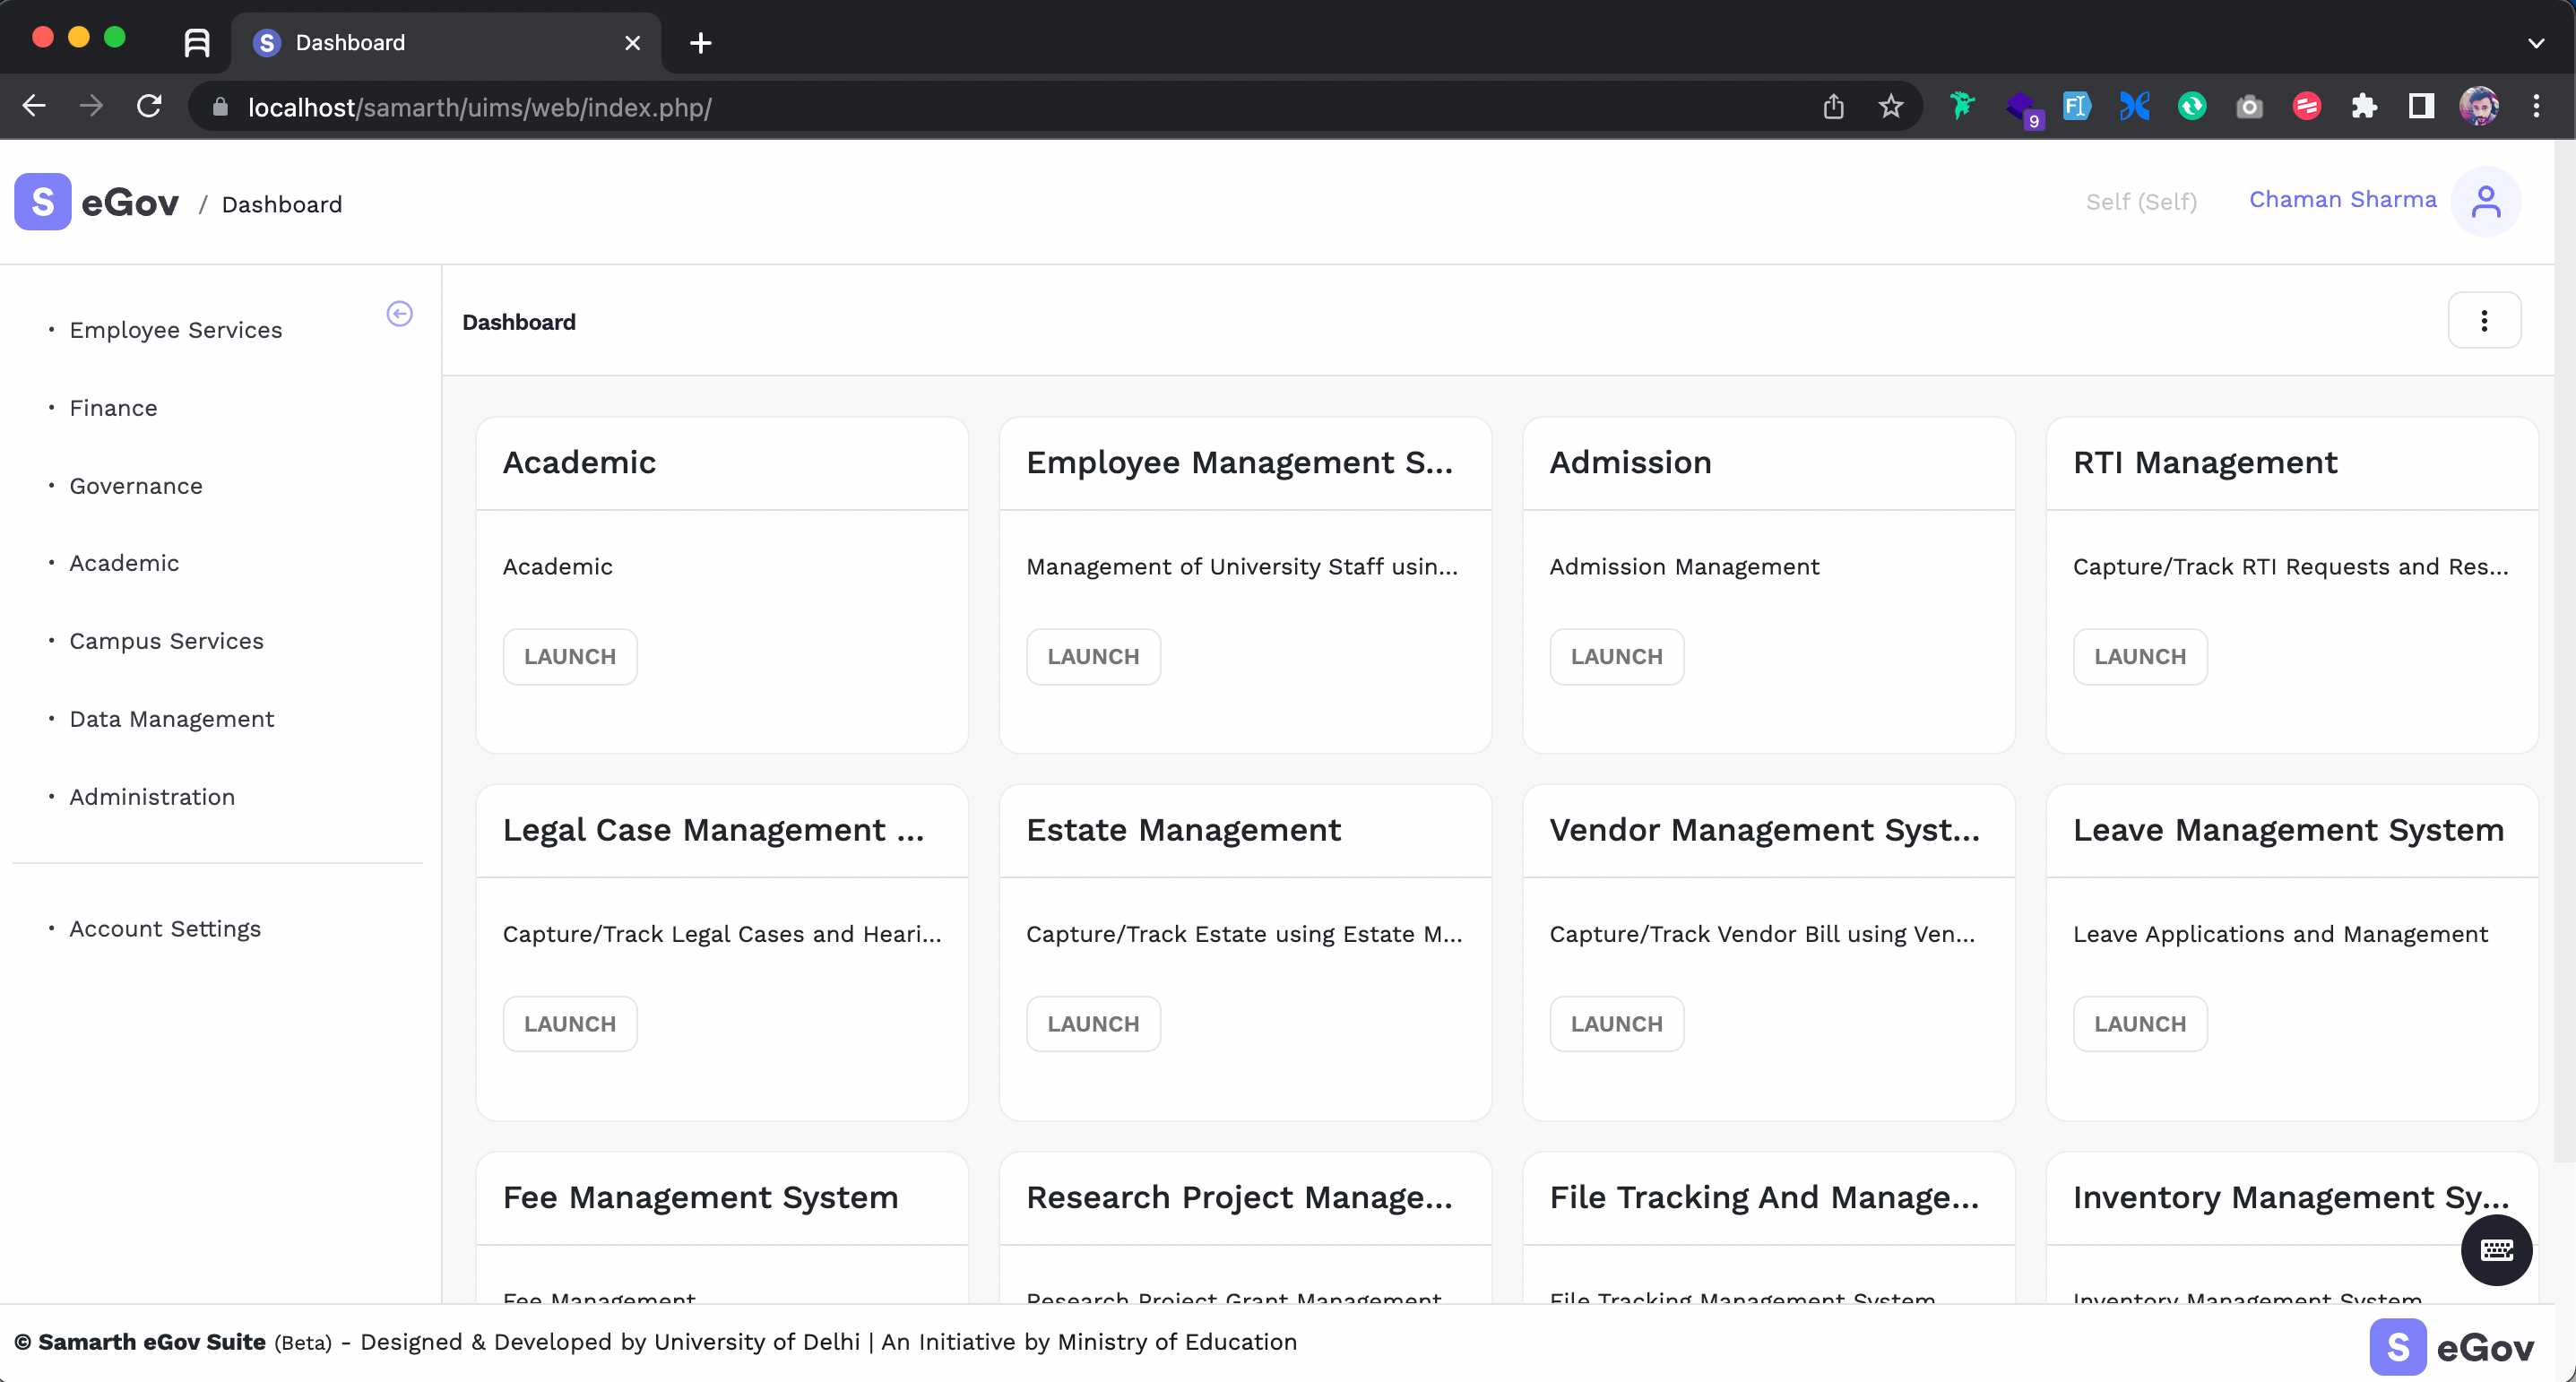
composer updatein [webroot] > samarth > uims directory - After successful setup, you'll get a screen similar to the following image on browsing http://localhost/samarth/uims/web/
